One of the goals I have set myself is becoming core user certified for splunk. I’ve already begun taking the classes, but I found them a bit lacking and I’m someone who learns best by doing so I decided to install a Ubuntu VM and get Splunk up and running on it. It was simpler than I thought. Here is how I did it.

I followed this great youtube video that is only 5 minutes long! I know! Insane. It really is not that difficult. The image above shows the download.

You set up the username and password for Splunk during the installation that happens in terminal.

In order to actually do anything with Splunk you need data to query. So I followed these instructions on splunks site.
They were okay but I ran into an issue where the upload kept timing out, so I found this troubleshooting guide also on their support site. How to resolve error “Upload failed with ERROR : Read Timeout for the log file” when uploading a generated alert log to Splunk?
These instructions worked like a charm!
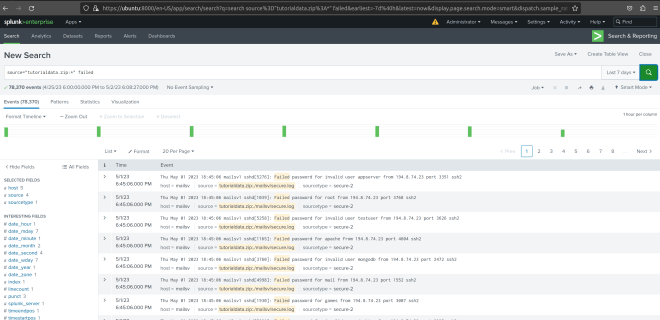
And lastly, I was able to query Splunk successfully. Now, I can go back through the training on Splunk’s site and do the examples at the same time as the online instructors. I’m very happy this was easier than I thought.